Skip to content
  • Home
  • About
  • Contact
  • How I bake
  • Order
  • Studio
  • Workshop
    • International Workshops
    • Workshops på svenska

Enter your email address to follow this blog and receive notifications of new posts by email.

Recent Posts

  • Building THE baking studio – part 4
  • Mehanics of mixing: The best choice for quality
  • Building THE baking studio – part 3
  • Building THE baking studio – part 2
  • Building THE baking studio – part 1

Archives

  • December 2019
  • July 2019
  • June 2019
  • May 2019
  • August 2017
  • March 2017

@danlarn Instagram

No Instagram images were found.

Categories

  • GUIDES
  • How I bake
  • MUSINGS
  • Okategoriserade
  • The Baking Studio
  • GUIDES
  • How I bake
  • Okategoriserade
  • MUSINGS
  • The Baking Studio

Bread by @danlarn

Sustainable & Educational Bread

  • Home
  • About
  • Contact
  • How I bake
  • Order
  • Studio
  • Workshop
    • International Workshops
    • Workshops på svenska
Feature

Building THE baking studio – part 1

Daniel Larsson 28 May, 2019

This first part of the Baking Studio story is made in partnership with my friends at Ballingslöv Falkenberg. About two months after baking my first sourdough loaf, I decided that this craft was something I’d be doing for the rest …

Read More

Feature

10 tips in 10 days: 1 – Getting your ideal dough by doing nothing

Daniel Larsson 14 May, 2019

10 tips in 10 days coming up! I’ve basically been having a dough rising every day during the last years. Most often in a bowl or a box, and if not; in my thoughts. Sourdough loaves, pizza balls, burger buns, …

Read More

Feature

How I bake the Country Style Sourdough Bread in 6 stages – Introduction

Daniel Larsson 6 August, 2017

Hey there! I’m often asked how I do things, with what it’s done, when to do what and why it’s done. Now I want to give all of my fellow followers out there an insight to my bread making through …

Read More

Feature

Guide: Unleashing the full potential of your bakes – Part 2(2)

Daniel Larsson 12 March, 2017

In this part of this guide I will get into the last variables and insights of the baking process that directly affects the visual outcome on your country style sourdough loaf. In the first part I focused on the why …

Read More

Feature

Guide: Unleashing the full potential of your bakes – Part 1(2)

Daniel Larsson 6 March, 2017

In the following 5-10 minutes of your time I will do my best to describe the nature of a baked country-style bread that’s considered beautiful and how I go about to make it so. So what’s considered beauty in a …

Read More

  • Okategoriserade

Building THE baking studio – part 4

Daniel Larsson 1 December, 2019

This next part of the studio journey is made in partnership with Xcen Belysning.

When I embarked on my journey to build the baking studio, I knew I needed help getting it to the premium feeling I was looking for.
The guys Xcen Belysning lifted the visual of this concept studio one step further by designing all the lightning! They did such a good job with something I would probably have overlooked that I wanted to give them some spotlight of their own in my channel and blog.

I sent them the drawings of the studio and some video showing the, by then still, garage. Also explaining my need for great lightning for photography and content creation.
I was a bit worried it would be too dusky with too little natural lightning for good photography and evening workshops. The kit they sent me with dimmable spotlights and large led panels remedied that big time!
Each early morning I step in to the studio to bake I’m really thankful for letting the pros handle this. Now I just need to put some stuff up on that big white wall!

I wouldn’t be able to live my passion it it wasn’t for sponsors believing in my mission and craft. By supporting them you’re supporting me!

The LED spotlights: https://www.xcen.se/led-spotlights/led-spotlights-pa-skena

The LED panels: https://www.xcen.se/led-plattor

  • MUSINGS

Mehanics of mixing: The best choice for quality

Daniel Larsson 15 July, 2019

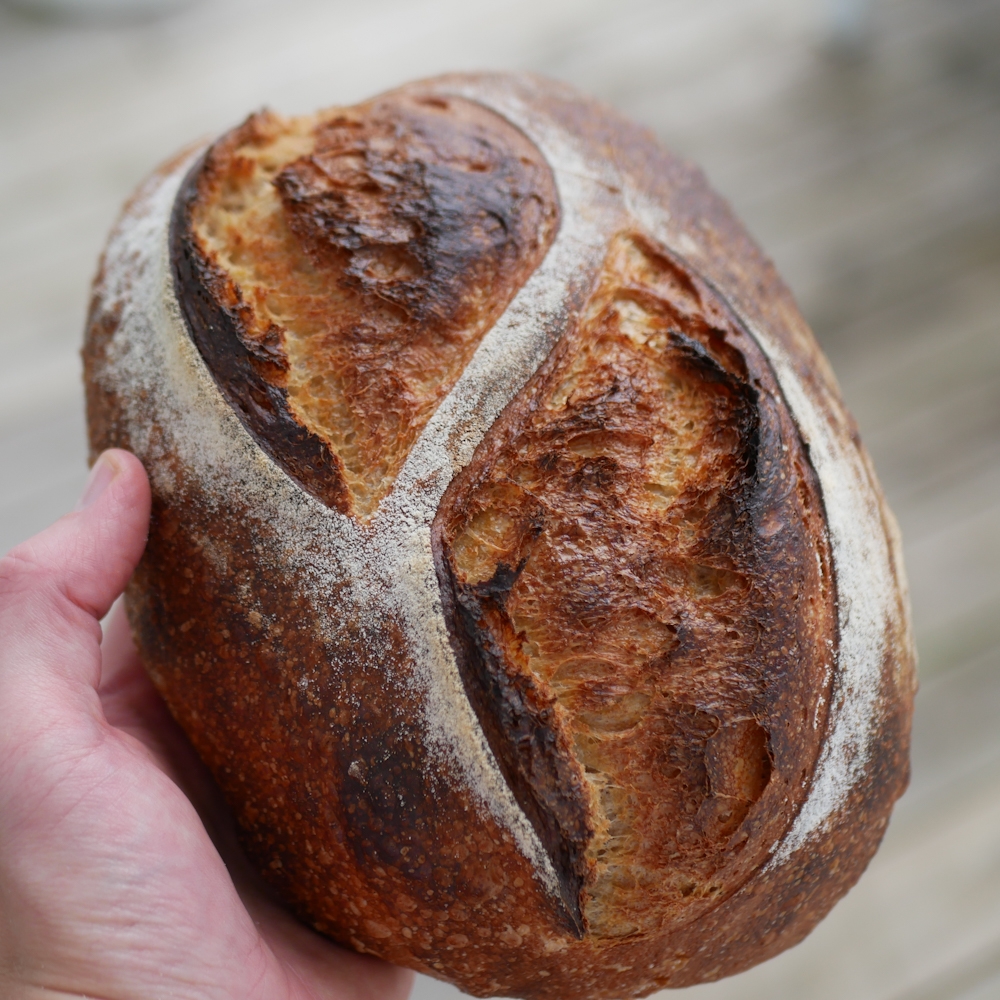
Ever since I made my very first country style sourdough bread dough by hand, I’ve been in awe of the transformation process that makes a shaggy mess in to a supple smooth rising dough. I’m starting to see that these chemical reactions of flour, water and salt are probably the main reason to my apparent obsession of baking.

It’s ALWAYS different even though you seemingly are doing the same thing from one mix to another. How enticing would it be of the mix could be controlled to always come out the same? Not very much and I’d probably be in to some other craft with more randomness to it.
Over time, since that first hand mixed dough, I’ve dived deep in to the mechanics of blending these components together. The mixing. And this is what I want to share my thoughts on with this article!

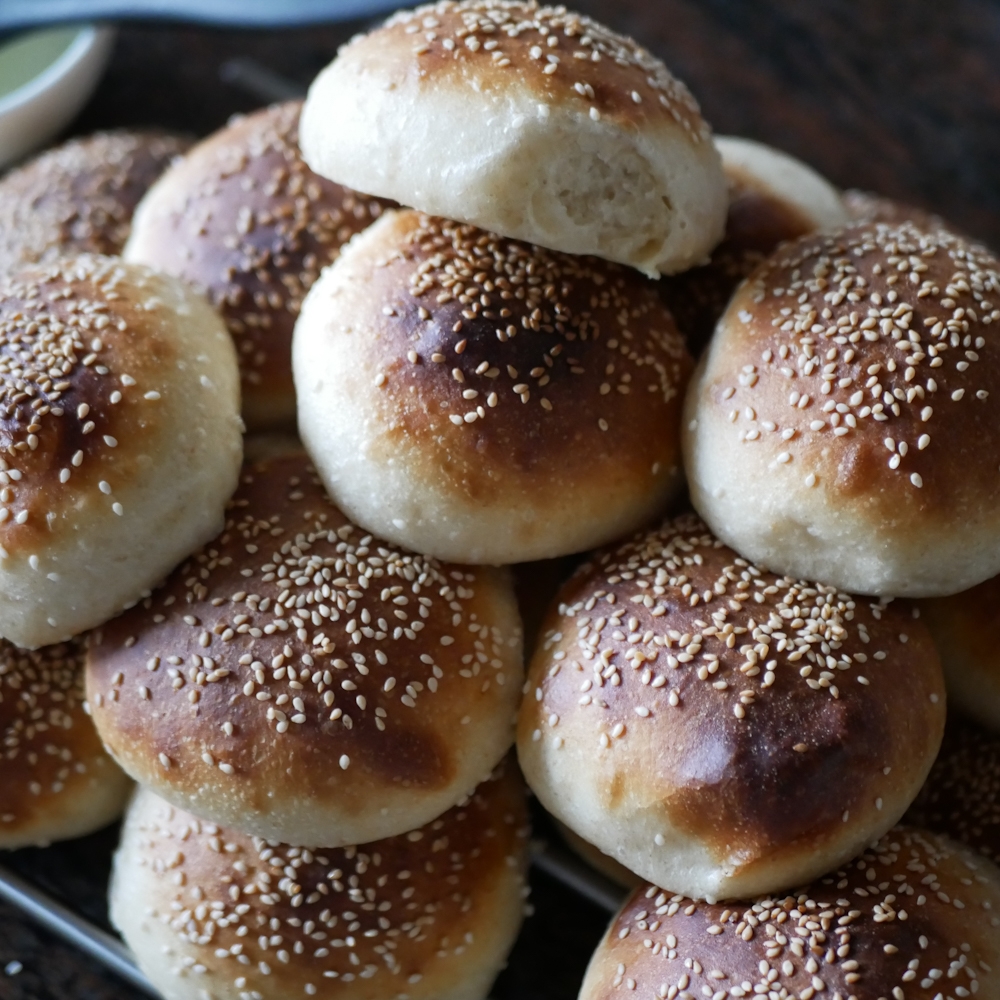
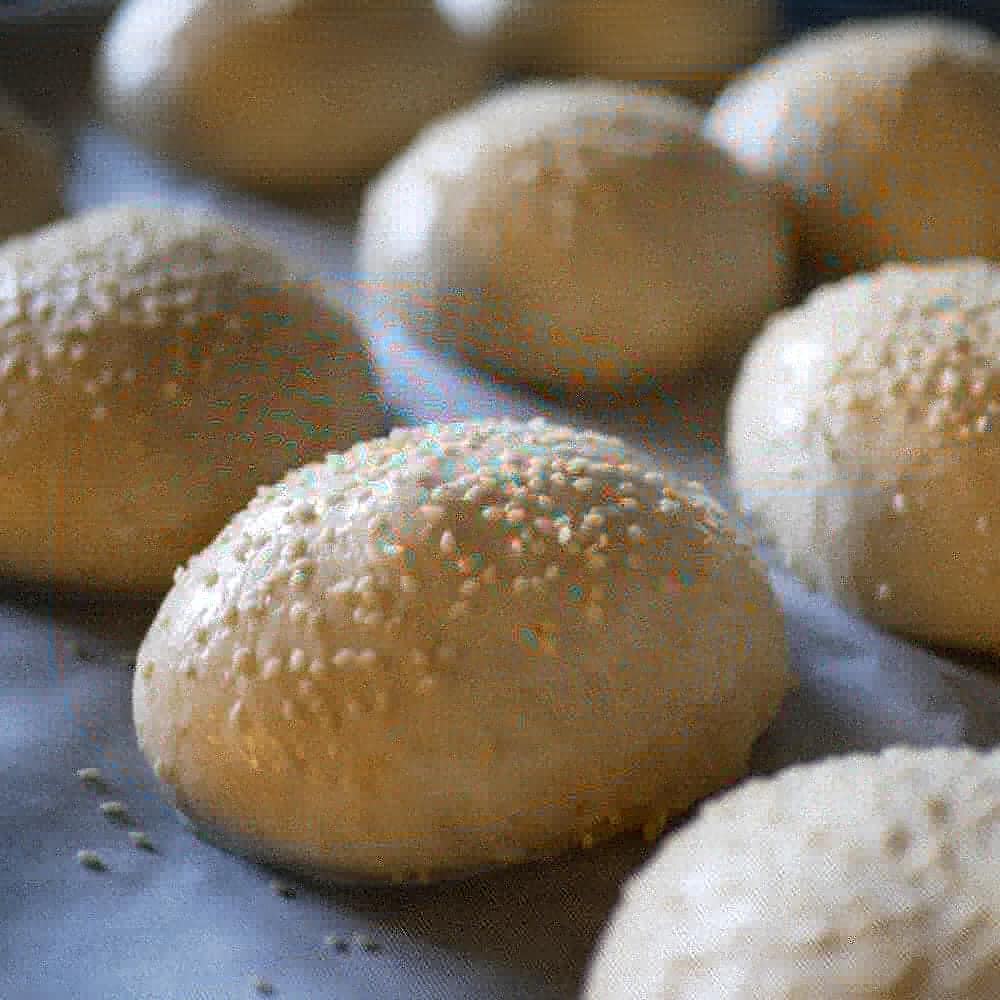
A well developed dough is such a treat to gaze upon!

The purpose of mixing

I often come back to the core purpose of mixing which is, by my experience, often overlooked and trivialized. It’s just something bakers always do (of course – you wouldn’t have a dough without it), yet to be able to elevate and make an even better product I’m urging to reflect upon this purpose, which are:

  1. Forcing water in to the flour and making it start their new chemical bonds.
  2. To create an even distribution of leavening source (the sourdough – levain – yeast) and salt in the dough.

So, if the flour has been hydrated fully and the leavening source + salt is evenly distributed we have very good basis for a dough that looks and feels really nice, and in the end rises in to a beautiful shape in the oven! The problem is that depending on HOW you’re mixing it, it will affect the end quality of that bread. Aromas, color and overall texture will degrade if the mixing involves a mechanical force that aerates the dough to much and too quickly (over oxidation). Most mixers that can hold a larger quantity of dough to a lower price will probably cause this to the dough, by ripping and rotating swiftly. Yet it serves the core purpose, right? There’s of course money involved here as well. If you’re making larger quantities of dough, you’re probably keen to speed up the mixing part, not to create a bottleneck in the production. The thing is, over aerated dough (that probably also will have a peak in temperature due to the friction) makes for a bread that tastes less, have lost a lot of its crumb color and yields a less tender crumb structure. Three things you don’t want to compromise with and is probably factors that made you get in to the sourdough baking from the start.

What alternatives are there?

Hand mixing of course, and a long autolyze (letting water and flour sit together for a long time). I prefer a combination of the two when time and dough size allows for it. If you want an even distribution using hand mixing only, you’ll have to about it for quite some time to fulfill the purpose of mixing. When working with larger dough (2,5+ kg) I’d say it’s unreliable still to get that even distribution and all the flour hydrated. It’ll work for sure, yet you will have a difference in the dough development comparing bakes. The autolyze is really the gentlest way to let a dough develop, although mixing by hand involves very little risk of over aerating and friction, compared to a machine, so don’t be afraid to knead your dough really good at the start.
When the plan to start my baking studio emerged, I spent hours and hours (and hours) of research in finding a mixer that would not compromise the quality of taste, color and texture. And If I couldn’t find one, I was hell bent on doing every mix by hand with longer autolyzing. My future had a sweaty outlook to it for sure. The conclusion in the end was using a Twin arm mixer (also referred to as Diving arm mixer) or nothing at all.

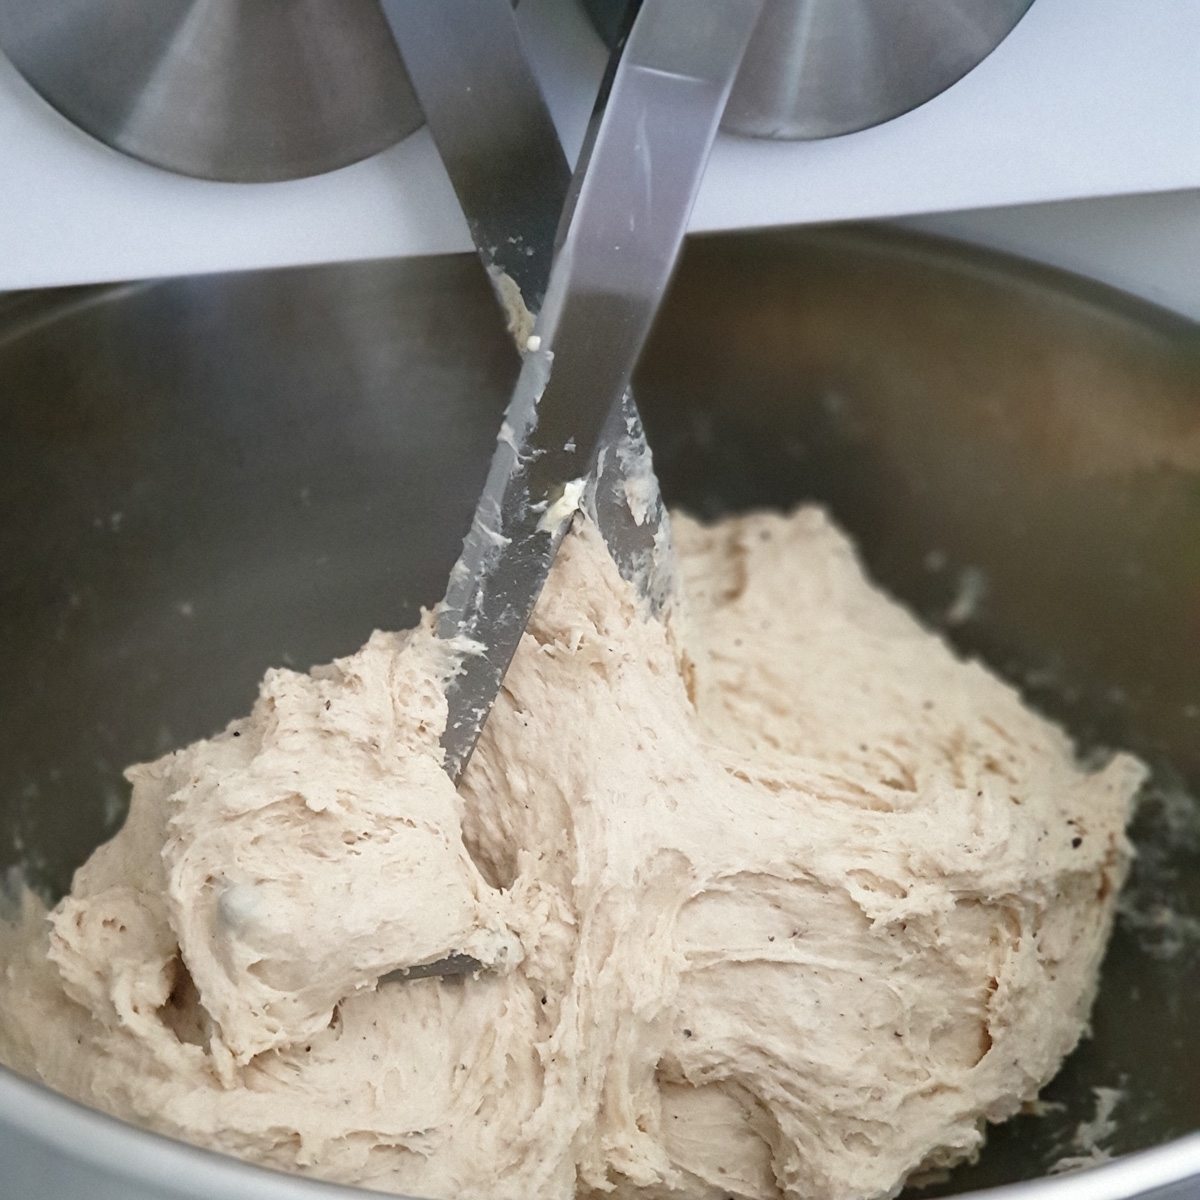
The Twin arm mixer in action.


The price is absolutely higher than the spiral or planetary mixer, and so will the potential quality of dough be. Luckily, I had the chance to loan one over this summer. A smaller sized machine that handles up to 5kg dough. My insights and experience so far are that it keeps its promises. No temperature peaking from friction makes me able to control the dough temperatures better. Taste, color and crumb structure make very little (if any) difference compared to the hand mixed loaves I make as well. It saves me time (even though I’m making several individual batches each day now due to the weight limit) and I always know that the time mixed, amount of force and movements will be the same, from batch to batch. This is a huge factor to evolving the product via deduction. It seems as though it’s handling higher hydration and more stiffer doughs very well. The folding movements of the arms and the simultaneous rotation of the bowl will structure the dough very well in a longer session.

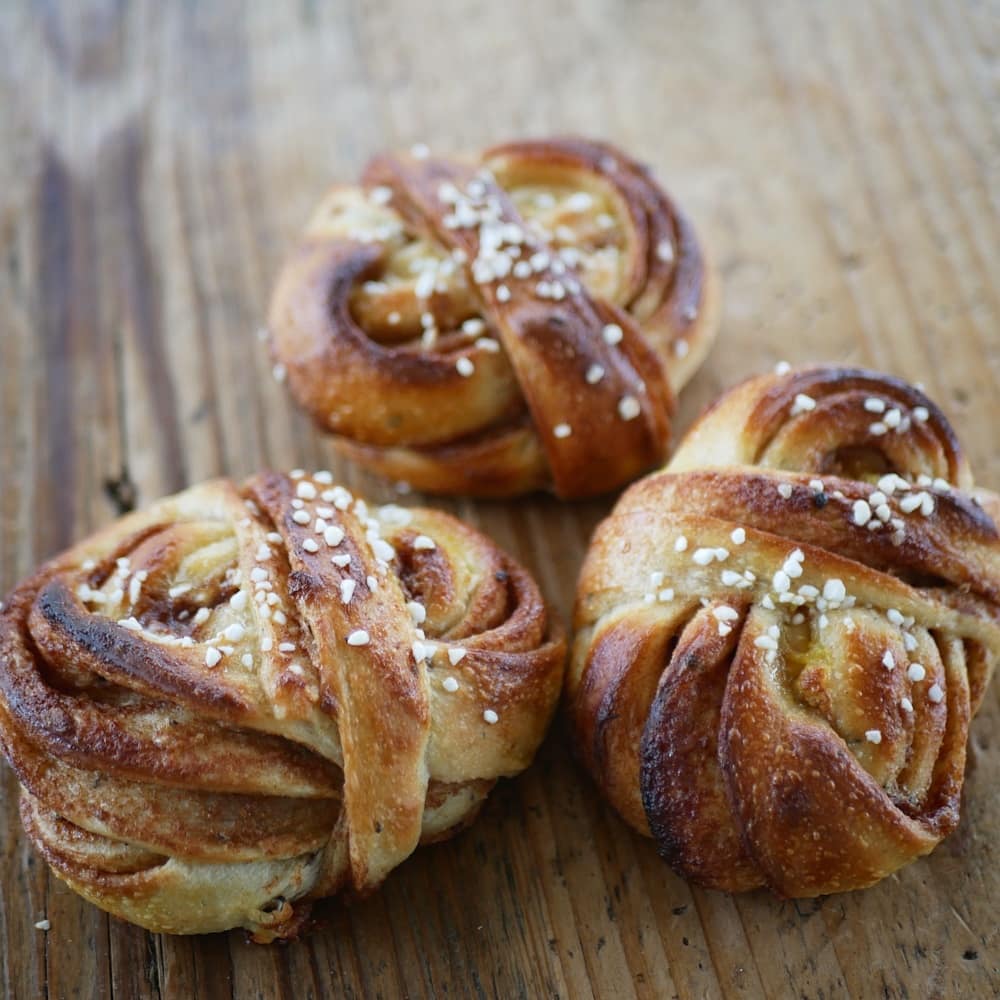
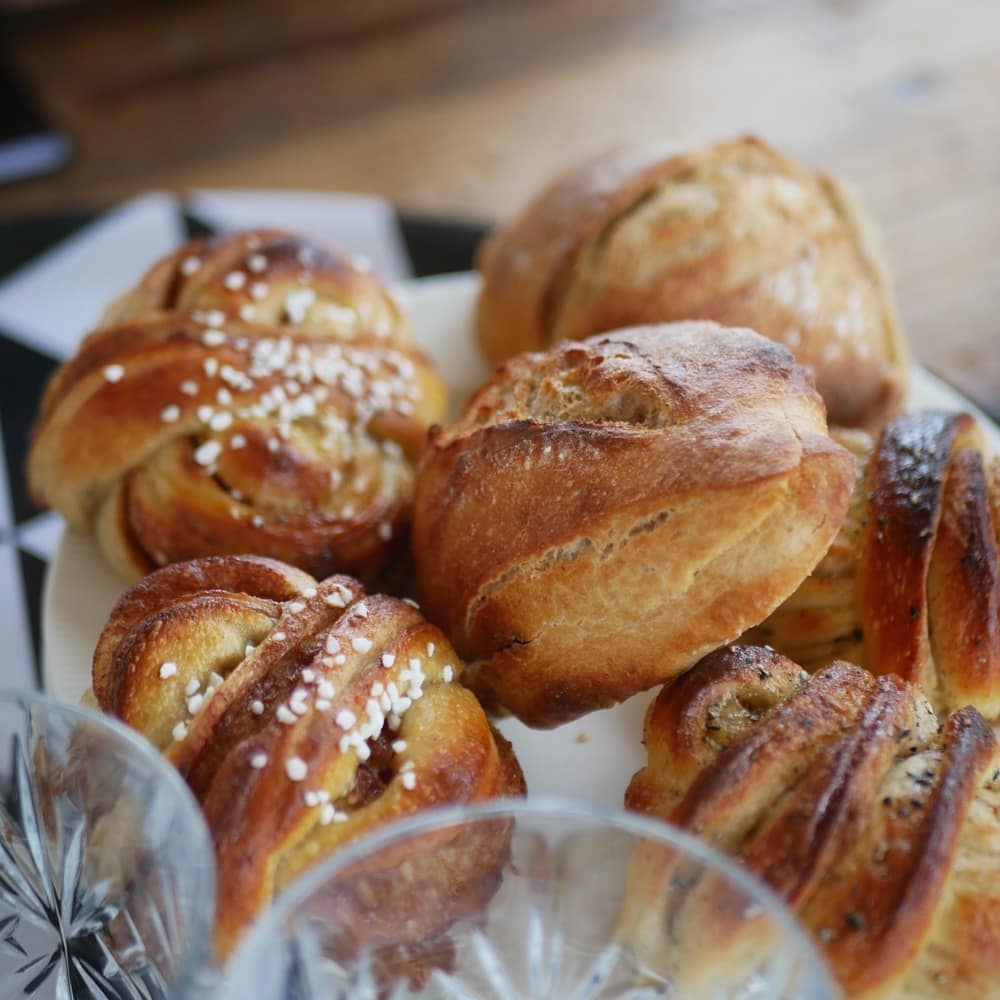
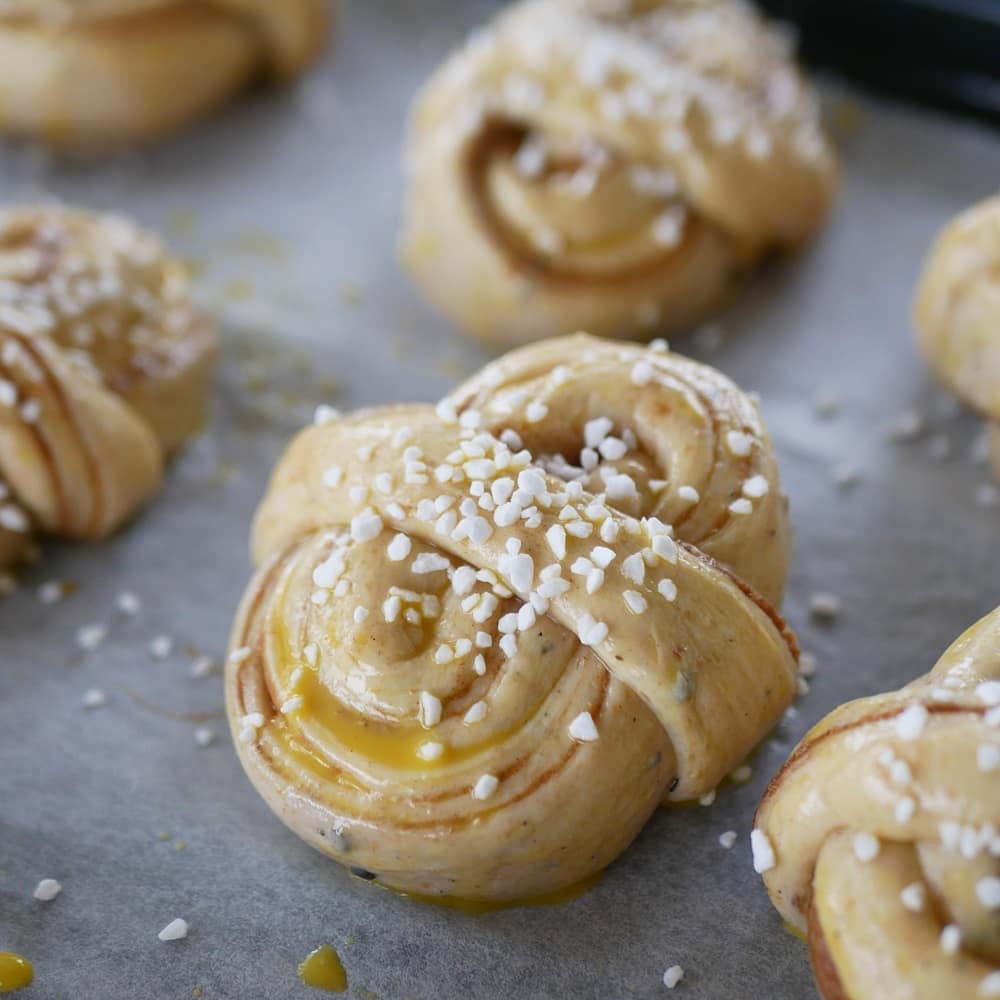
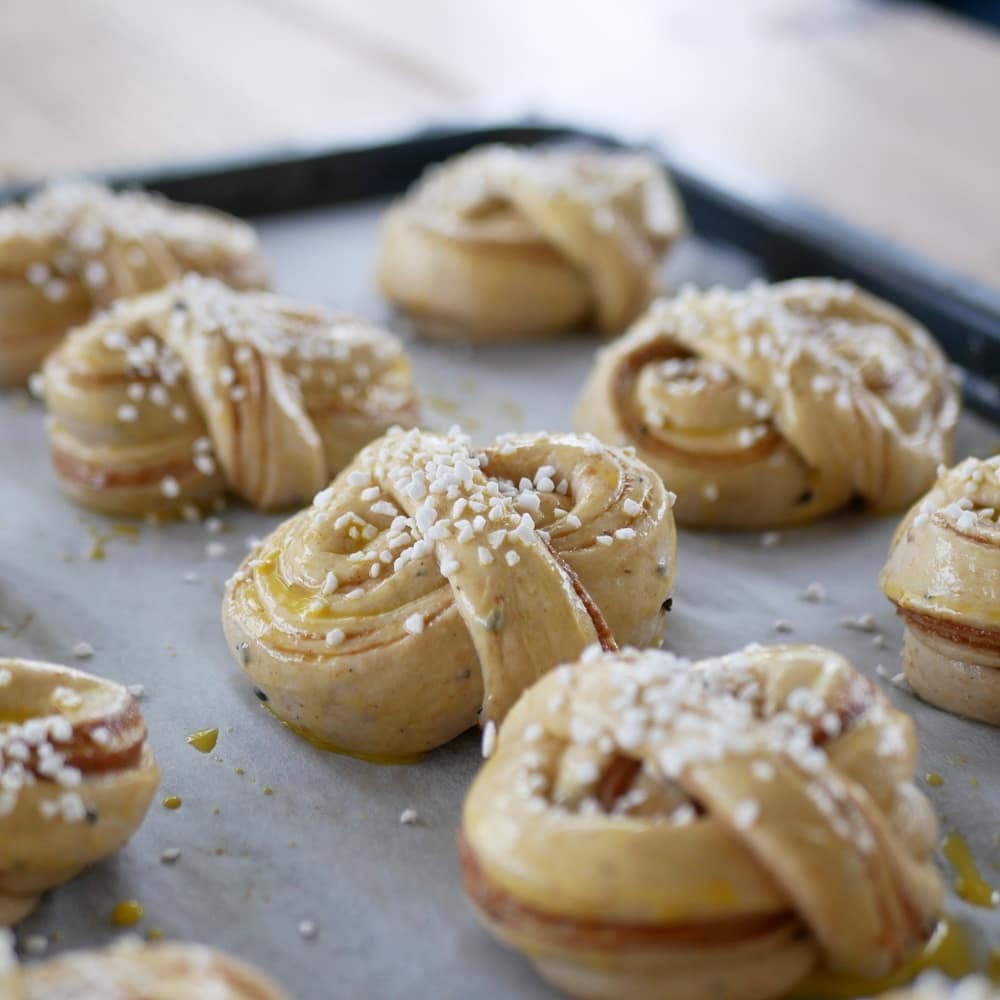
A stiffer dough being mixed – A sweet bun (Cinnamon) dough that’s generally lower in hydration. Still works very well to evenly incorporate all that butter, milk, sugar, cardamom and even more enrichments!

My recommendation

I’ve gotten a lot of questions from the baking community regarding mixing methods and type of mixers. Both from home bakers and professionals! To sum this up in one sentence: If you (home baker or professional) want to make the highest quality dough possible and be able to rely on the mixing phase being a constant from bake to bake, you need to give the twin/diving arm mixer an evaluation. Investing in several of these instead of choosing a mega sized “standard” mixer could be a very good idea if quality is the most important thing for you. The price per mix might still be worth it in the end. I hope this bus ride size article can shed some light on the purpose and guidance in your choice of mixing methods moving forward!

/Daniel

  • Okategoriserade

Building THE baking studio – part 3

Daniel Larsson 19 June, 2019

In my previous post writing about this Baking Studio journey I’ve focused on the planning, interior and machinery. In this third part I want to show you the result so far.

A moving pictures glimpse of an operational studio, practically ready for a smaller exclusive production, educational workshops and even better online content. The ovens are there, coolers and freezers, the slab, the work spaces, the mixer (it’s on the floor so you cant see it – Miss Baker pro XL) and the water area.

All that’s missing now is a bigger fan in the wall above the ovens to enhance ventilation.

Now the real fun work begins as well to make it my studio, cozy it up and fill it with the details I love! I’m thinking pictures of the bread making process, wheat varieties and some of my original prints on the bigger white wall! More bread baskets, jars full of wheat and rye berries and bread spices. And of coarse loads of beautiful and sustainable hand crafted bread and buns. I have an idea of a cooling rack in two or three stories on one of the walls.

A warm thank you

Cannot begin to describe the feeling of closing up on this project. Much with the encouragement and support from the online baking community, and my partners.

I’d like to send a special thank you to the supporters out there who donated some of their resources to boost my funding during this spring, via the GoFundMe campaign. It is still active and I’m going to evolve the close supporter concept once I’m up and running at 100% – this fall.

The near future

During the rest of this summer (July & August) I will focus a couple of hours a day on producing a line of exclusive products to my friends at Swerl Coffee Club, who’ll have a mobile coffee bar on one of Falkenbergs sweetest spots.

During late July I’m aiming to launch a new site as well, with the possibility to order a smaller stock for pick up at the studio, which will grow in the fall.

Glad you’re following me on this journey!

  • The Baking Studio

Building THE baking studio – part 2

Daniel Larsson 9 June, 2019

This next part of the Baking Studio story is made in partnership with NEFF Sweden

And what a story it has become! I’m very proud to now present the setup of ovens that will be used in the locale.
The core purpose of my newly started business is to mediate knowledge about the craft of breadmaking, using sustainable methods and sources. In the vast planning stage of building this studio I looked at so many options regarding the ovens. The most important factor being how they would support the earlier mentioned core purpose, so in the end the choice was made to go with high end domestic ovens.
An important goal for each interaction in the Studio is that the participant (physically present or digitally) will leave with the tools and principles to bake in any type of oven. It is my deepest conviction that working hands-on in a domestic oven will give the opportunity to understand how to get consistant results, even when scaled up for professional appliance and for professionals attending the workshops.

The finished “Wall of ovens” in the baking studio. On top of the furniture holding these 6 ovens there’s also a stone bench for storing. I’ll probably stack my cane baskets here in the future for drying!

I came in contact with NEFF in Sweden (through my partners at Ballingslöv in Falkenberg who is also the local reseller) and found that they were very interested in supporting this project, to show just how high quality of baked goods I can make in their product.
I’m very grateful and humble to say that without this partnership, a dream studio like this, with such well engineered machines to match the ambitions for my bread, would not have been a possibility.
Those of you who have followed my baking for some time knows I like to dive deep in to how the tools can be used optimally, to create great results. With this being said I can’t wait to get in to the features of these modern domestic ovens, using steam & proofing programs and much more. When doing some test baking, I found that the conduction and convection efficiency is greatly different (in a better way) from my earlier ovens used in a domestic environment. Also, the Slide & Hide function of the oven doors is just so neat when doing workshops where each participant will have their own (or team up on an) oven.

The Slide & Hide function of these ovens will come in handy when demoing what’s baking, and when more people are moving around the ovens during workshops. 

I’ll be sharing more in-depth insights and guides using these features that could help when baking, and of course also offering alternative ways if you don’t have this yourself – in the coming year.
Besides from mediating the knowledge in bread, I’ll also be producing and selling bread, buns and sweet rolls this summer and I’m really looking forward to optimizing the baking logistics for a greater number of loaves and buns. The challenge is half the fun!

Quality will always be prioritized before quantity in this baking studio. Practicing from the most basic principles trumps using professional laser precision tools that’ll make a lot of the work for you. So, the choice of not going for a bigger deck oven/professional convection oven feels very right going in to the next chapter of this story.

Click here to check out the NEFF products (swedish)
Click here for their international site

  • Okategoriserade

10 tips in 10 days! 10 – Get your hands dirty to develop the Bakers Sense

Daniel Larsson 27 May, 2019

This is the last tip and insight in this ten-part series revolving consistency in baking results. Mainly it’s been about the Country style sourdough loaf baking, but I’ve also touched the sweet buns (bullar), pizza and hamburger buns. This final, and to me most important, insight is true to all types of baked goods. No matter how many courses you attend or how many books you read, you will always need to connect with the dough physically to gain wisdom and develop.

To get a sense of what’s feeling right and what’s feeling wrong – Get in there deep and battle a possible freight of stickiness. With every dough you handle, and every bake it leads up to, you and your hands have an opportunity to learn.

So, what does this mean practically? I’m talking about letting your mixer have a well-earned vacation, and use your hands to mix all the ingredients. I’m an advocate for small portions of leavening sources to let time do its work – using hands on folding of the dough at regular intervals to feel the evolution. It’s the friction, lightness, stickiness and density of the dough at the shaping phase compared to last week. How the dough responds to the touch of your hand after a second rise, cold or warm.

This “Bakers Sense” comes from experience. Keep on baking and exploring and you’re due to the sense eventually. Until then, if not already there, I’m really glad you’re tagging along with me in my exploration and attempts to describe how I experience baking.

Below you’ll find some videos showing part of the process where this connection is made, if aware!

  • GUIDES

10 tips in 10 days! 9: Creating the perfect oven inside the oven

Daniel Larsson 24 May, 2019

In an earlier tip, I wrote about the heat factor of getting consistency in the baking result. This one is in the same topic area, only more focused towards the importance of steam during the bake.

Perhaps a lot of you already bake, or have baked, inside a clay pot or cast iron/enameled casserole (or the genius combo cooker). If you’re struggling in getting wanted results, and have deviated from this way of baking bread, you should return to it. Basically you’re eliminating the important steam factor as a source to the irregularities, should your vessel hold it well. The water being released from the dough gets trapped inside, creating a great environment for the dough to rise and the crust to develop. After about 20-25 minutes the lid is removed, steam vented and you put I back in for another 10-20 minutes, or until you’re happy with the crust.

And also, try different styles of these so called “Dutch Ovens” to find the one that gives you the result you’re looking for – and the stick to it, cause it’s likely to keep delivering.

It’s hard to add just the right amount of steam whilst baking on a stone or steel, and that’s why using this method fits the top 10.

Oh, and another tip while at it – if you’re experiencing the bottom getting too thick or burnt (or both), you can safely remove the half baked loaf from the DO using a peel at the lid removal part. And then just place it on the oven rack, removing the DO from the oven.

The videos in this post shows a 50% whole wheat loaf (rather over proofed) being scored inside a combo cooker and then the release of the steam at around 25 minutes.

  • GUIDES

10 tips in 10 days: 8 – Burger bun softness using pre- gelatinized flour (tangzhong)

Daniel Larsson 24 May, 2019

By adding a paste made from 1 part wheat flour and 5 parts water (or milk) to your standard enriched burger bun dough, you’ll be getting a very fluffy bun, that holds longer before going dry.

Heat the paste to 65 degrees Celsius and add it to the liquid of the dough basically. You could let it cool quite a bit before adding it too, not to tenper too much with the final dough temp. A dough enriched with butter won’t like getting too hot at the start!

I use roughly 25-30% Tang Zhong in relation to total flour weight, seems good enough.
Also, as stated in earlier tips, time (with a risk of getting repetitive) is of most importance to ensure consistency in the final result. Let it rise for a long time using low amounts of sourdough/yeast (I like seeing it doubled at least after shaped as buns) and you will be rewarded.

The video on this post shows you just how tender and light this buns is.

I’ve basically been having a dough rising every day during the last years. Most often in a bowl or a box, and if not; in my thoughts.
Along with the coming week’s posts I will share 10 of the most valuable insights I’ve had that’s lead to more consistent result in baking high quality, beautiful goods from home (in no particular order).
Would love it if you comment or DM with questions, I always do my best to answer!

  • GUIDES

10 tips in 10 days! 7: Pre-heat deluxe

Daniel Larsson 21 May, 2019

Optimize radiation heat transfer by maxing heat settings a good 2 hours+ before baking. This series is about finding consistency in baking great results at home, and the heat transfer to your dough is a key element to this.

There are three types of heat affecting your dough.

1. Convection (the hot air around the doigh).
2. Conduction (transfer from one medium to another)
3. Radiation.

The first two peaks quite quickly. The last one comes from the oven walls, ceiling and bottom, from the mass of the oven (metal and other parts). The longer you’re heating up this mass, the more it will radiate to the other mass inside the oven (to a point of course).
Higher heat mass equals to greater potential in the rise of the baked goods.
If you’re worried about the climate affects, make sure you’re supplying from a green source if possible. Also I’m quite positive that baking your own bread affects the environment less than buying it as the final product in an industrial process.

The loaf featured from today’s bake shows you a very pleasing oven spring after the double cut score. 33% whole meal wheat at 81% hydration. Baked on a steel with steam added.

And a little reminder – I’m not saying you have to do this to bake good bread, not at all! This is a way to eliminate heat radiation as a factor when it comes to finding what brings your results to an even higher consistency, should you not be happy with it today 😀.

  • GUIDES

10 tips in 10 days! 6: Enriched sweet buns – Bread taste, texture and norms with a long rise

Daniel Larsson 18 May, 2019

Here in Sweden most recipes for Cinnamon/Cardamom buns that you find in books or baking blogs will tell you to use a rather high amount of commercial yeast, that boosts the fermentation timings. This next tip is a very basic one; Lower the amounts of yeast drastically and let time create consistency for you! Just make sure you keep it a bit cooler so the butter wont go bad/leaky!

It might not sound very revolutionary to increase fermentation, but if you haven’t tried any type of enriched dough (added fat and sugar etc) that’s been siting for an extended period of time, you’ll definitely notice a difference in taste, texture and overall stomach sensation when you do. This is definitely my experience and once I started to lower the yeast and sourdough starter to a fraction of what I used to; the baked buns just kept being the best ones I made so far! A lot of people out there still thinks that long fermentation is for loaves of bread only.

In a dough with about 1000g of flour, I now use 3-4g fresh yeast (that’s 1g dry yeast equivalent) and about 40-50g sourdough starter (or just skip the fresh yeast entirely and increase the starter to 100g – and get a different texture in the finished buns). In a normal room temp environment, the dough will be ready for baking in about 10-12 hours.

In my experience, a dough with a lot of butter (and other enrichment) will either need a lot of mechanical force to come together in to a silky smooth one, or a lot of time. The later alternative can make the most hopeless feeling dough in to a pleasure to work with! I mix the dough in the morning, and shape it into buns after lunch, letting them rise as shaped buns until dinner time. As an alternative (when working) I mix the dough in the evening, let it sit as a bulk at a lower temperature overnight and shape early in the morning (to be baked just a couple of hours later).

The pictures in this post was from today’s cinnamon bake. I just love the look of proofed buns and the promise it makes, as you can see. All the angles are there!

  • GUIDES

10 tips in 10 days: 5 – Whole meal flour

Daniel Larsson 17 May, 2019

Using finely milled flour to create light and airy whole meal sourdough loaves.

Flour selection is of course a very vital part of getting consistent results. When it comes to the whole meal (whole grain) flour I find a great difference in the end result when it comes to the coarseness. In my opinion you still keep a lot of taste and aromas intact, even when the entire grain (with sprout, bran, kernel) is very finely milled. From what I’ve picked up from several sources (like the brilliant @ceorbread on Instagram), the flours ability to bind water is affected, thus the development of the dough, leaving you a mass with greater potential for a lighter and more open crumb.
I mill most of my whole meal flour myself, with my bench stone mill. I do two runs – first at a coarser setting, then at the finest possible. This is also, in my experience, affecting the dough development qualities in a positive way. I’m still learning the chemistry behind this, if you’re familiar with it I’d be glad if you pitched in!
I know a lot of you mill your own flour (and if you don’t you should) so keep in mind to let the flour cool before mixing. The friction of milling twice will leave it quite hot (and this can mess with the activity of the dough in a negative way).
The best type of whole meal flour I’ve baked with comes from Vortex/Whirl milling (such as from Warbro Kvarn here in Sweden). It’s whirled into a very fine dust-like powder, without increasing friction significantly.
This is in my experience also true for 100% rye bread. The finer the milling the lighter crumb loaf you’ll get.
The loaf with crumbshot featured in this post is a 50% whole meal loaf, using very finely ground whole wheat grain. Packed with taste and nutrition and a very pleasing texture, from a while back.

I’ve basically been having a dough rising every day during the last years. Most often in a bowl or a box, and if not; in my thoughts.
Along with the coming week’s posts I will share 10 of the most valuable insights I’ve had that’s lead to more consistent result in baking high quality, beautiful goods from home (in no particular order).
Would love it if you comment or DM with questions, I always do my best to answer!

Posts navigation

1 2 3 Next
Create a website or blog at WordPress.com
Bread by @danlarn
Create a website or blog at WordPress.com
  • Follow Following
    • Bread by @danlarn
    • Join 327 other followers
    • Already have a WordPress.com account? Log in now.
    • Bread by @danlarn
    • Customize
    • Follow Following
    • Sign up
    • Log in
    • Report this content
    • View site in Reader
    • Manage subscriptions
    • Collapse this bar
 

Loading Comments...